
나의 발자취
GraphQL 특징, node js로 GraphQL 구현 및 쿼리 날려보기 ⭐️ 본문
GraphQL의 특징
- 단일 엔드포인트
- 필요한 데이터만 요청
- 오버패칭 언더페칭 문제 해결
- 배치요청
REST api를 쓰게 되면, 한 화면에 포스트와 댓글을 다 보여줘야하므로
GET http://localhost:3000/posts/2 와,
GET http://localhost:3000/posts/2/comments 두 개를 모두 요청해야한다.
하지만 GraphQL의 경우,
{ getPosts(ID:2) {
title
content
auth}
getcomments(ID:2){
content
}
로 요청이 가능하다는 것 ! - 버전관리 필요 없음
- 실시간 데이터처리
- 스키마 정의
type Query {
hello: String
getPosts(id: ID) : Post
프로젝트 시작
1. 프로젝트 준비: 경로를 열고, npm init -y 실행
2. 패키지 설치: npm i express express-graphql graphql nodemon 실행
3. 코드 짜기
일전 API 종류 소개 포스팅에 얘기했다시피, GraphQL은 전송할 데이터 형식의 정의를 위해 스키마를 만들어줘야 하고, 리졸버를 통해 스키마를 보내게 된다.
일전 포스팅: https://wildguess.tistory.com/439
API 종류들(SOAP, RESTful, GraphQL, gRPC, WebSocket, Webhook)과 Restful API의 특징
API의 종류https://medium.com/@yusufacarr18/whats-api-api-types-most-popular-api-services-rest-vs-soap-what-s-the-difference-1bd6a685afa1 What’s API ? API Types, Most Popular API Services, REST vs SOAP : What’s the DifferenceWhat’s API?medium.co
wildguess.tistory.com
따라서 아래의 순서와 같이 구현을 해준다.
const express = require("express");
const { graphqlHTTP } = require("express-graphql"); // middleware: 중간에서 request-response를 조작해주는 역할
const { buildSchema } = require("graphql"); // schema: 데이터 형태 정의

// GraphQL schema 정의
const schema = buildSchema(`
    type Query {
        hello: String
        welcome(name: String!): String
    }
    `);

// 리졸버 생성
const root = {
  hello: () => {
    return "Hello GraphQL!";
  },
  welcome: ({ name }) => {
    return `Welcome ${name}`;
  },
};

// 스키마에 리졸버 할당
const app = express();
app.use(
  "/graphql",
  graphqlHTTP({
    schema: schema,
    rootValue: root,
    graphiql: true,
  })
);

app.listen(4000);
1) GraphiQL로 GET 요청 테스트
테스트를 위해 노드몬을 통해 서버를 올리고, 설계한 라우터 주소로 가게 되면 아래와 같이 인터페이스가 나타난다!
(app.use(); 옵션에서 graphiql 옵션을 true로 해주었기 때문에 나타나는 것)
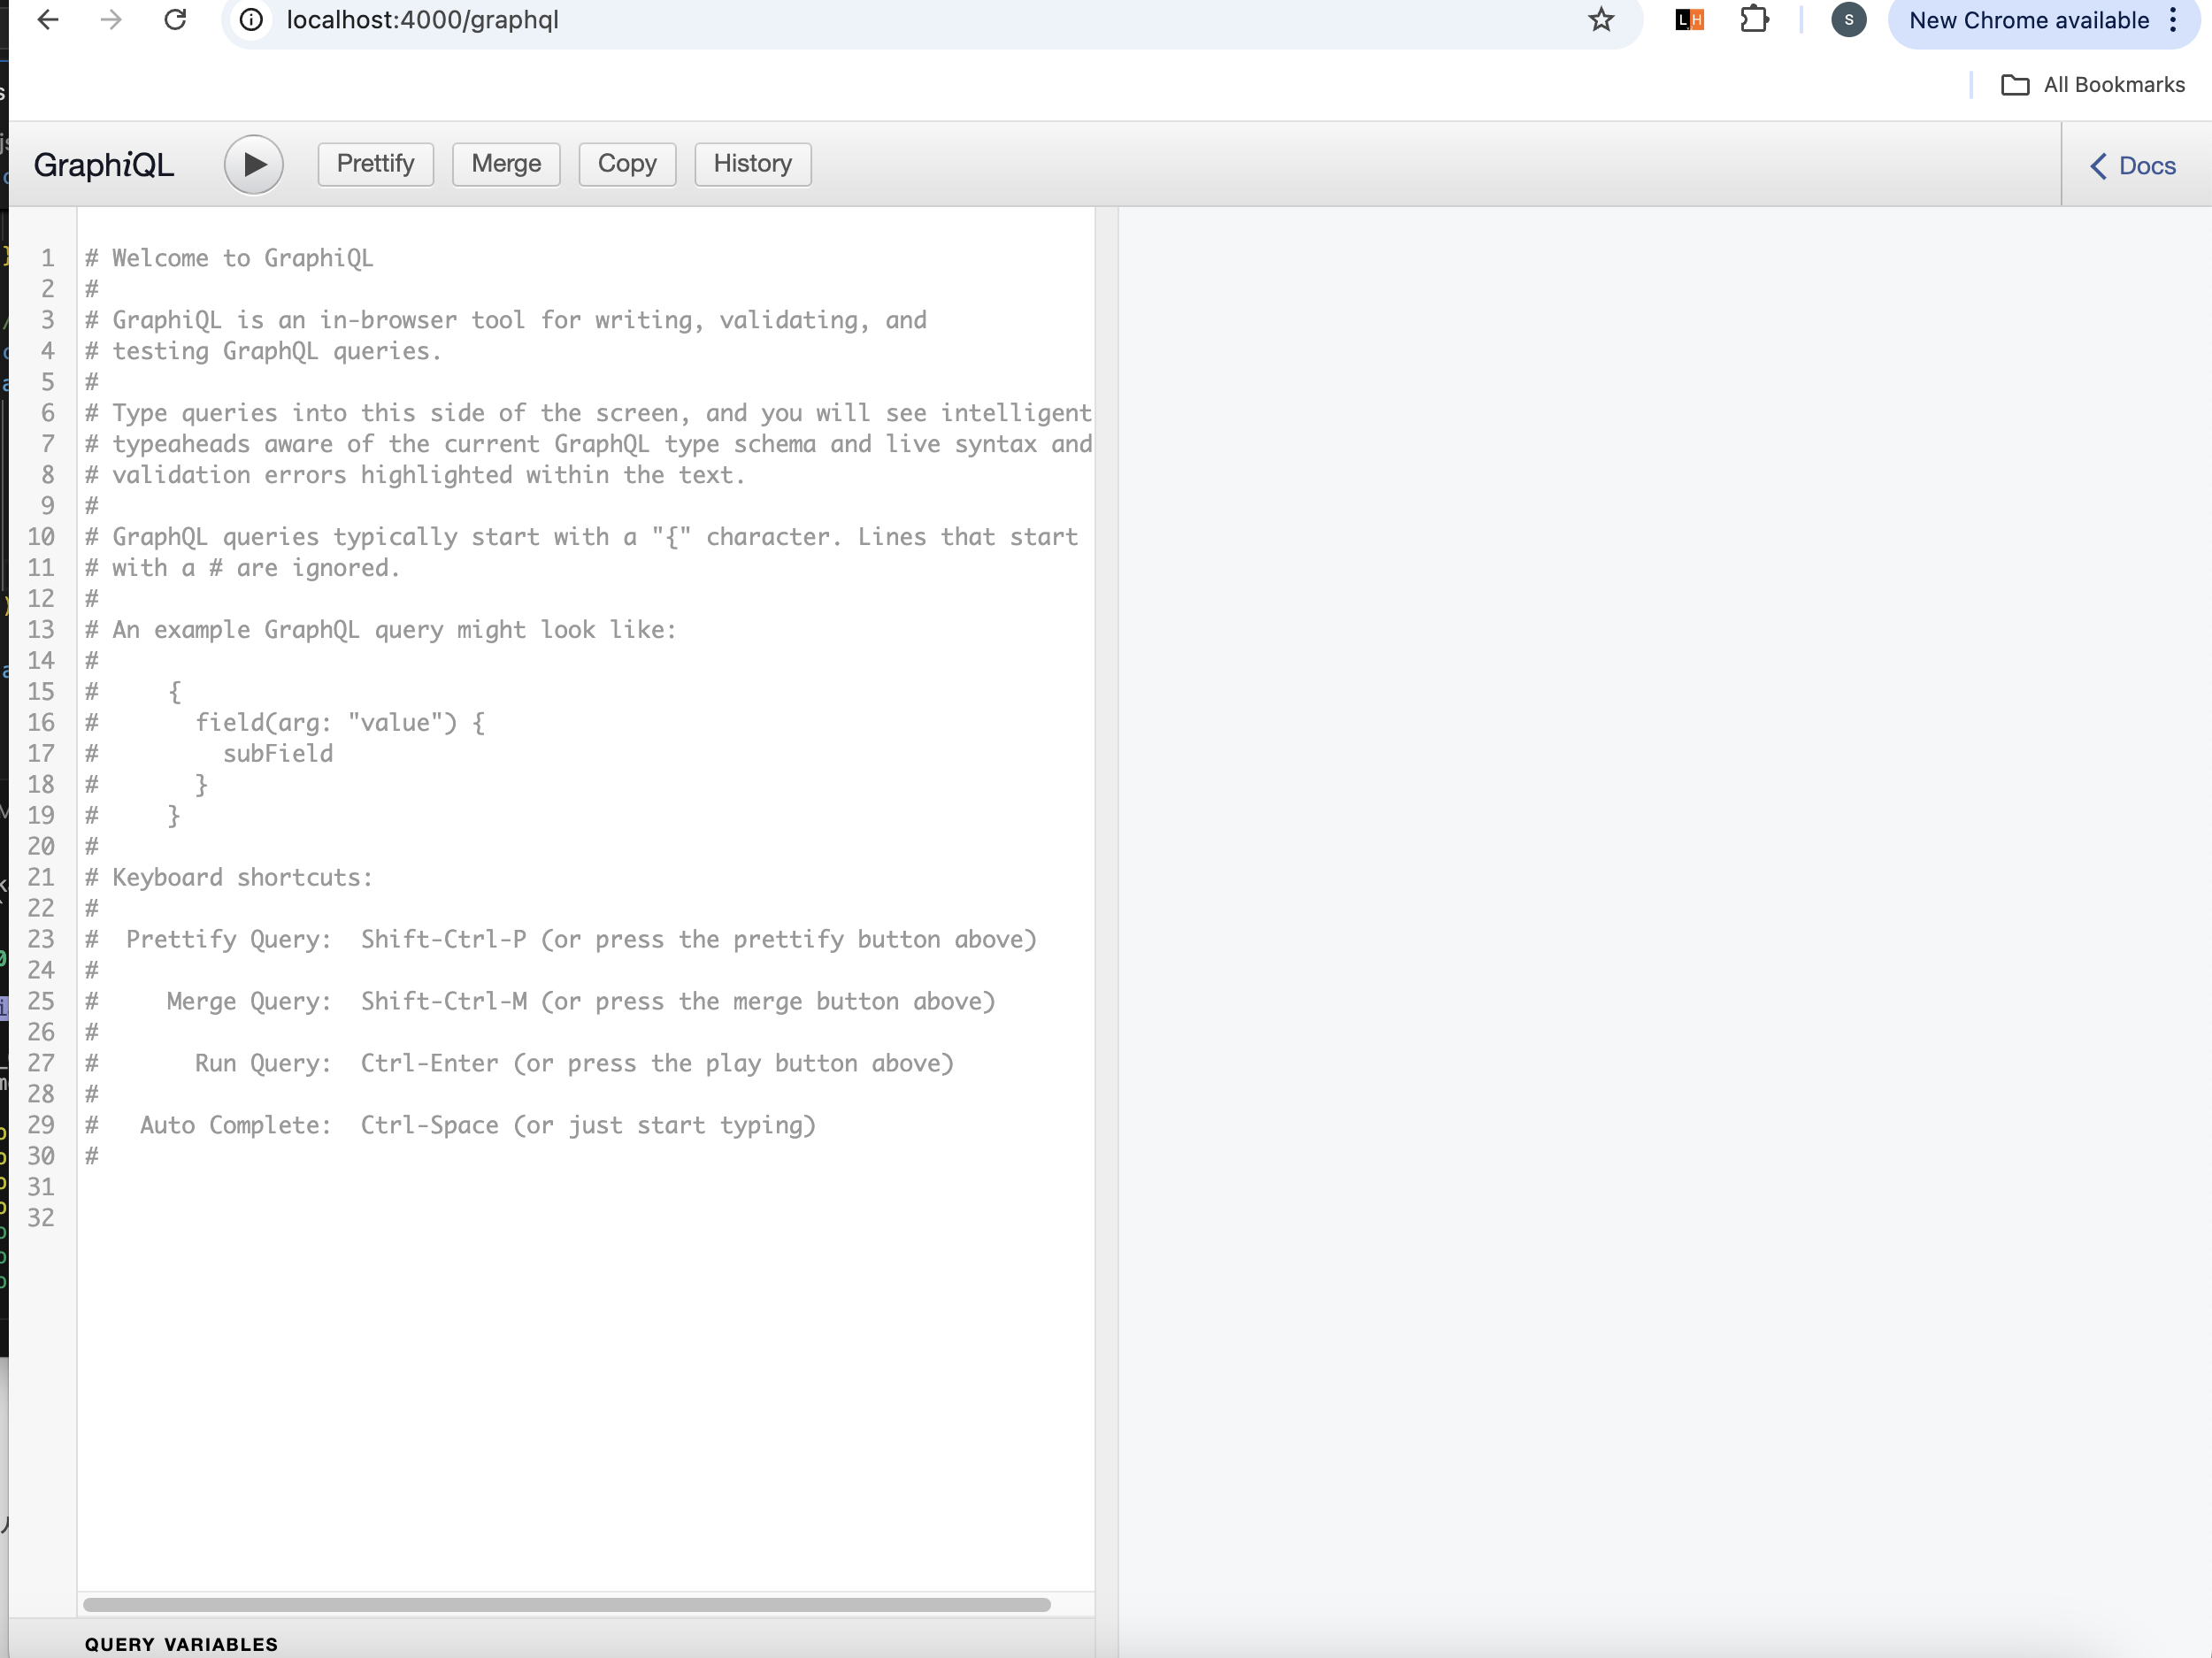
여기에서 app.js에서 스키마를 설계한 대로, 데이터를 요청하면 원하는 내가 설계한 데이터를 받아볼 수 있다!

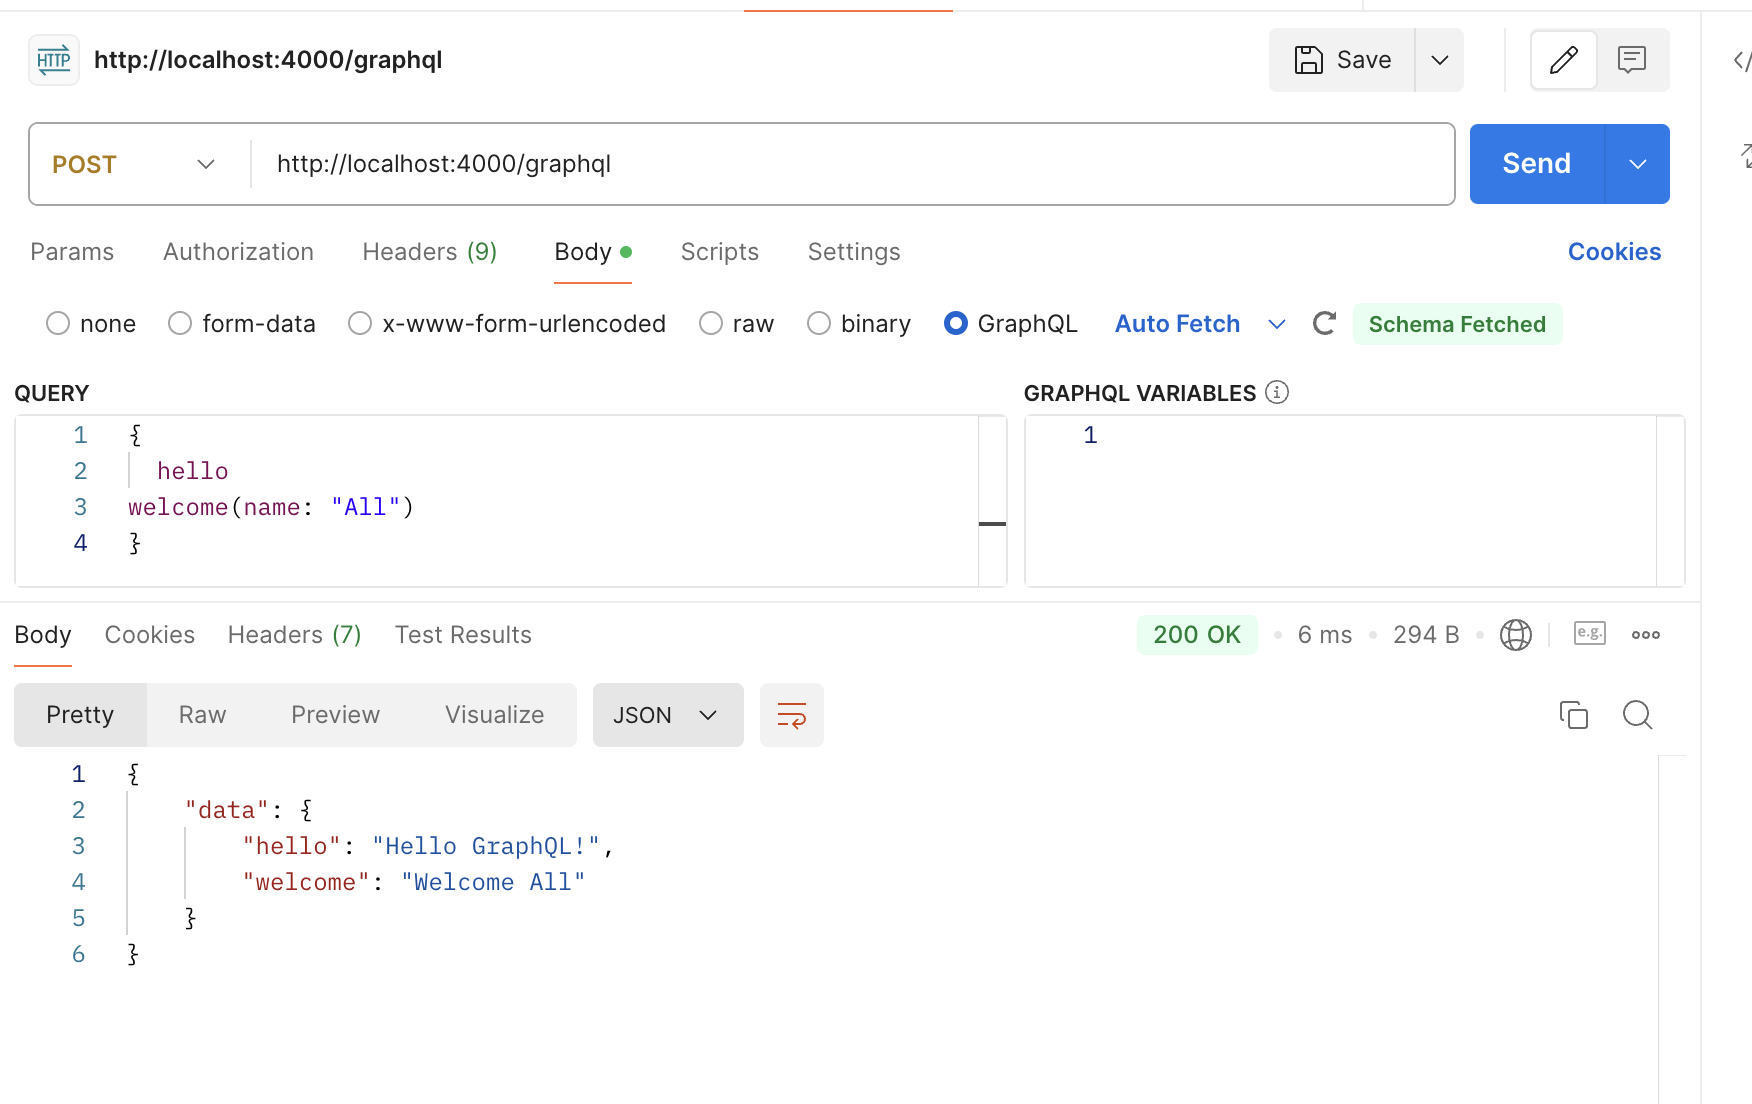
2) Postman에서 GET 요청 테스트
마찬가지로, 포스트맨에서도 아래와 같이 쿼리문을 날리면 같은 결과를 데이터로 받아볼 수 있다!
schema.graphql 파일 생성
그리고 이 포스팅을 참고하여 schema.graphql 파일을 만든다.
https://wildguess.tistory.com/446
GraphQL Schema 설계하고 호출하기
일단 냅다 올리고 시작type Query { // 예약어 hello: String getPost(id: ID!): Post}type Post { // 커스텀 자료형 id: ID! title: String! content: String!}type Mutation { // 예약어 createPost(input: PostInput): Post updatePost(id: ID!, inpu
wildguess.tistory.com
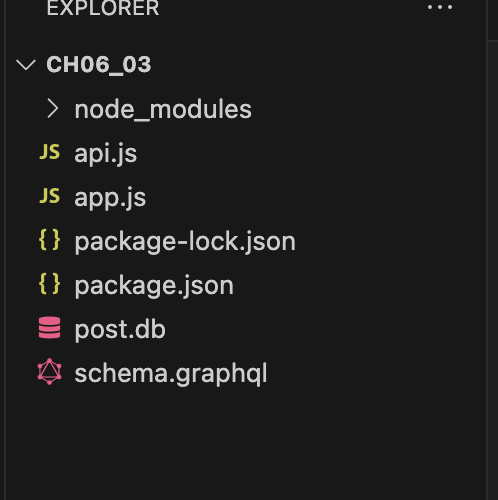
GraphQL용 프로젝트 파일 생성, better-sqlite3 패키지 설치
그리고 api.js 파일을 만들어주고 Package.json의 노드몬을 파일명으로 업데이트~
이후 터미널에 npm i better-sqlite3을 쳐서 패키지 설치,

그리고 어제 작업했던 내용에서 그냥 그대로 데이터베이스를 복사해서 가져올 것이다.
cp ../ch06_02/post.db . 입력

파일 목록에 post.db가 생기면 성공~
기본적인 틀 구현
이제 api.js에 관련된 모듈을 먼저 정의해주면서 틀을 잡아준다.
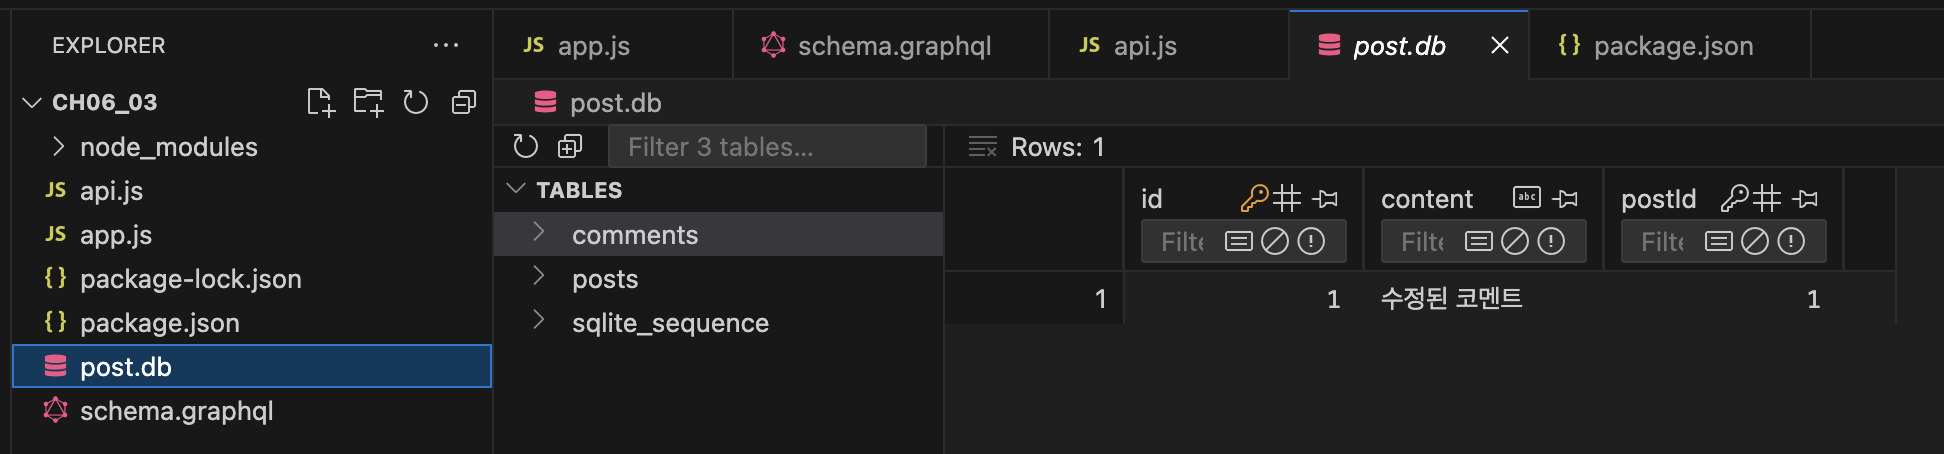
그리고 app.listen() 위에 어제 작업했던 쿼리를 그대로 복붙 후 서버를 실행해서 테이블이 잘 생성되는지 확인한다.
유후 -
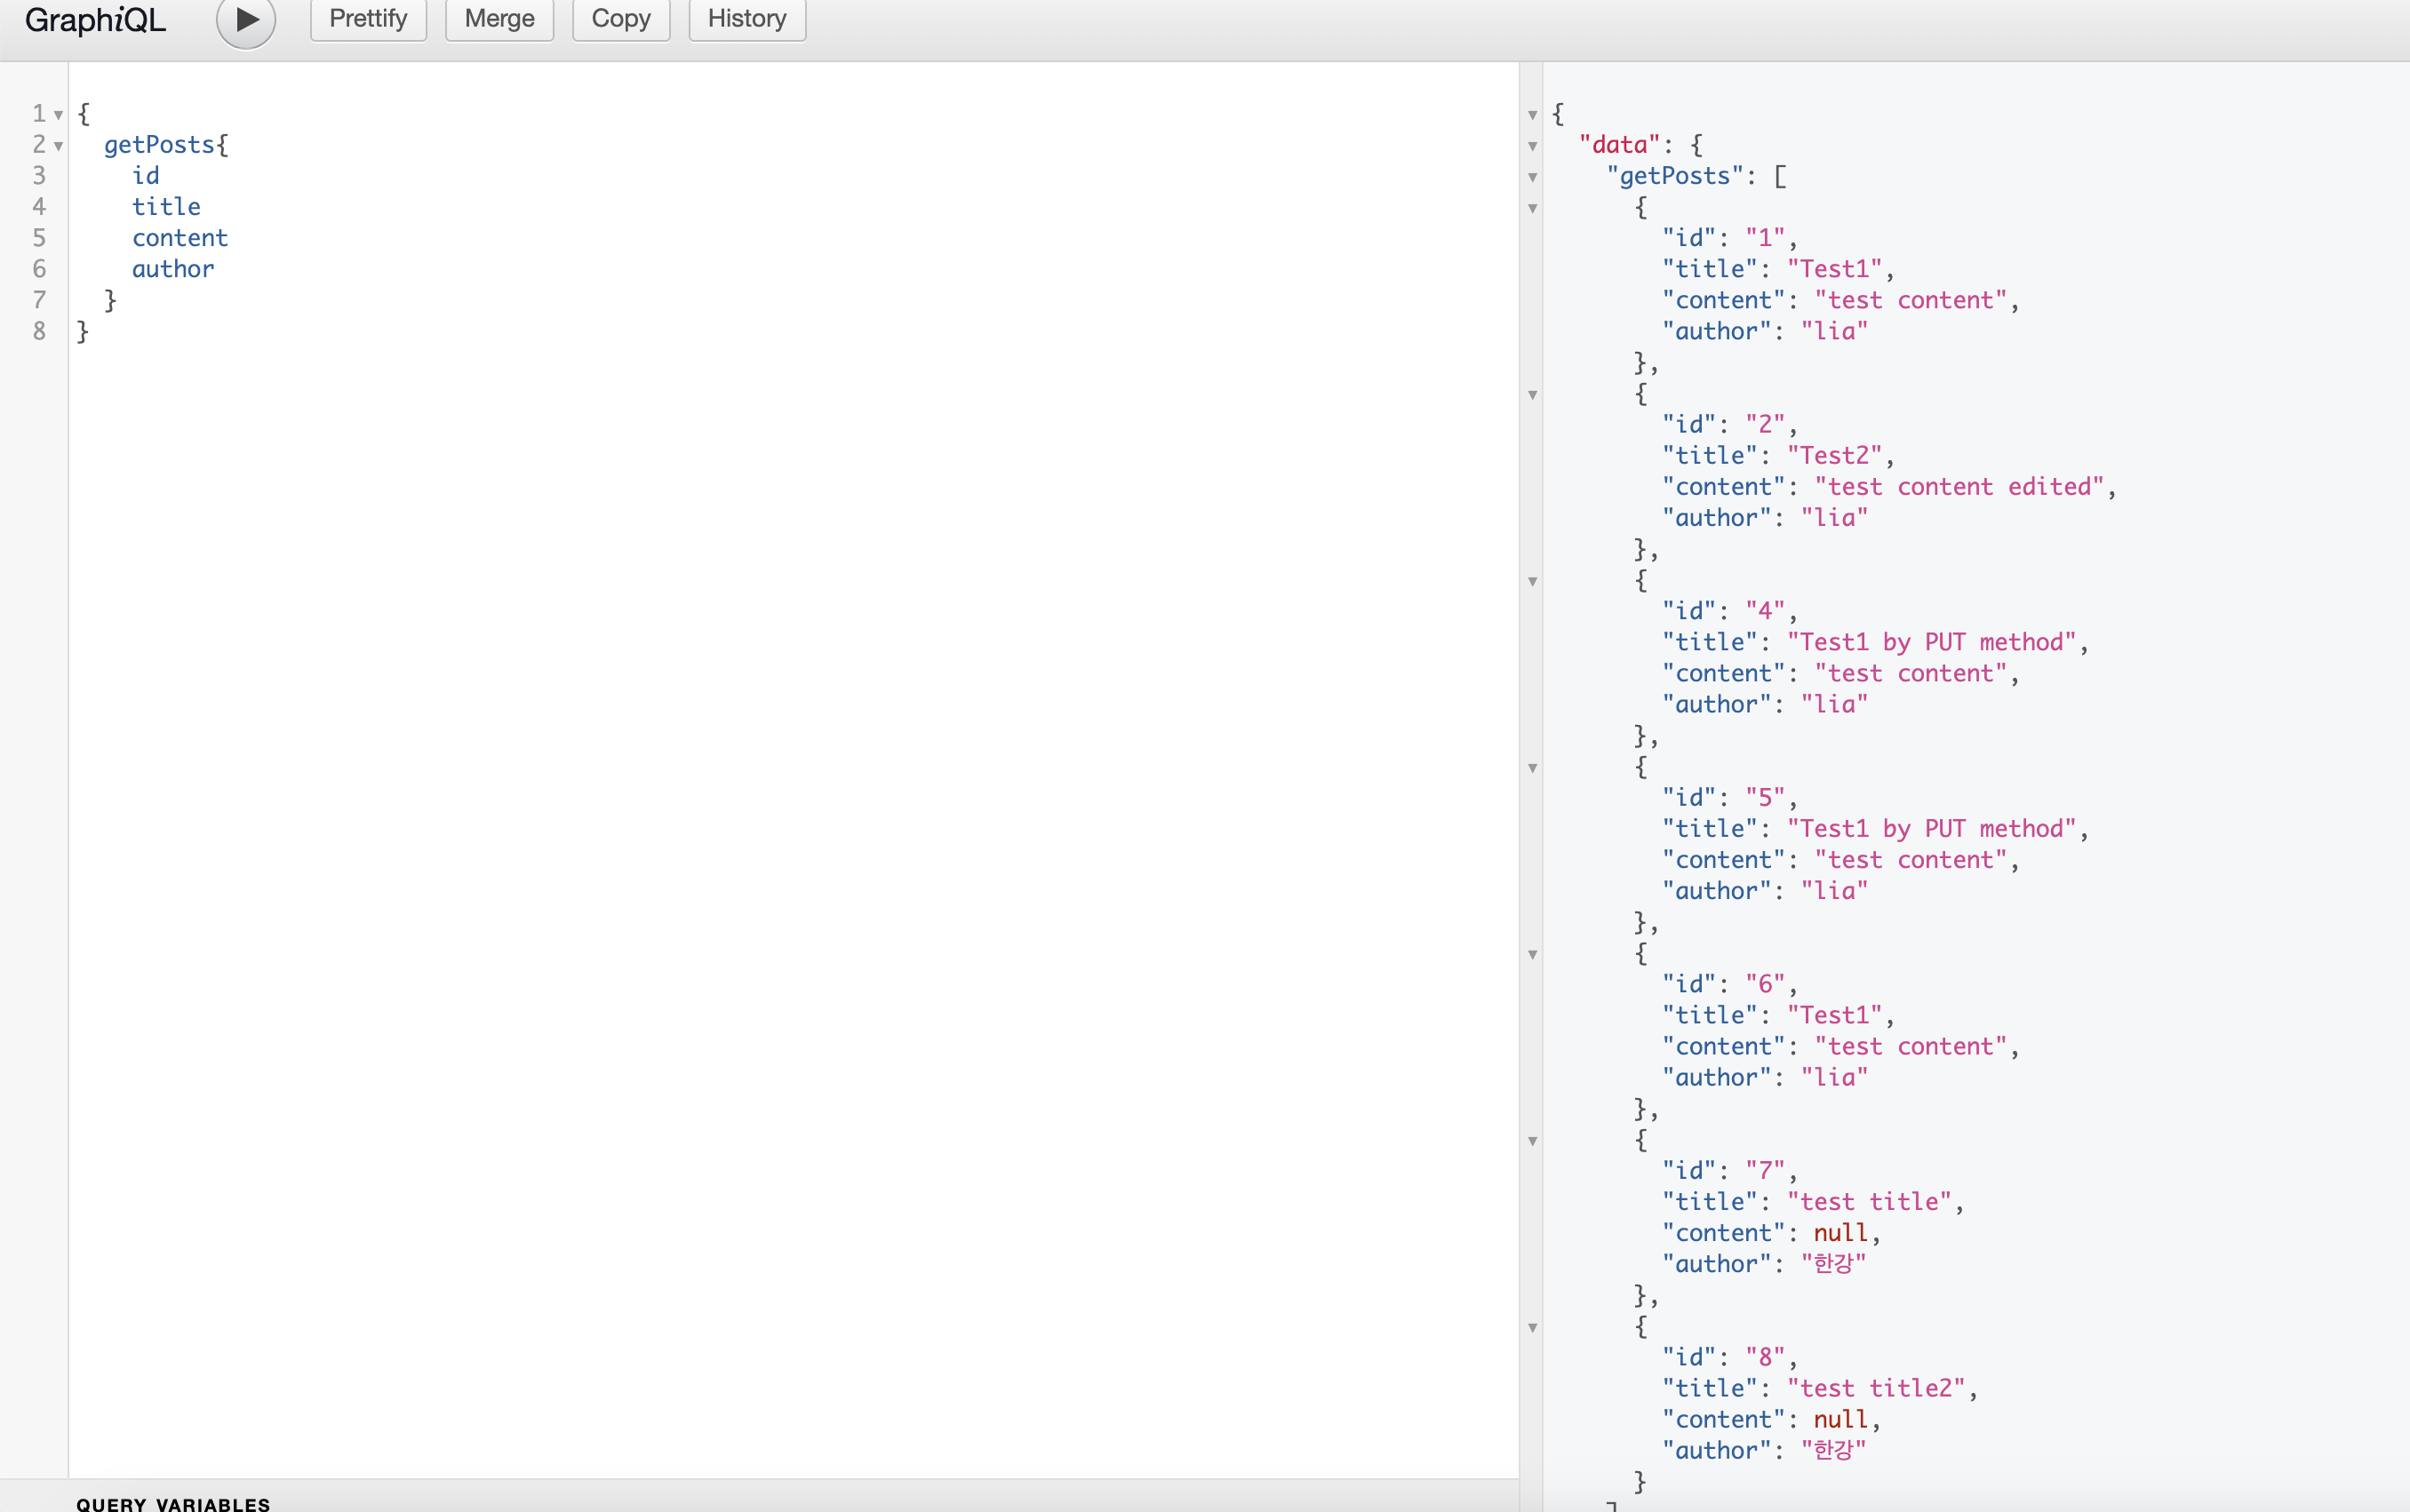
getPosts
그리고 아래와 같이 구현을 해준다.
https://github.com/est22/backend/commit/f9952727449b039bdeac8bf9b4fc3ad0ae2ab99b
로컬호스트에 접속해서, 테스트를 진행해주면 완성 -
(여기서 중요한 부분은, 스키마를 정의할 때 필수타입(!)으로 지정해줄 경우, 데이터가 null값일 때는 오류가 나게 된다. 따라서 꼭 존재하는 필수값에 대해서만 !을 해주는 것 잊지 말자.)
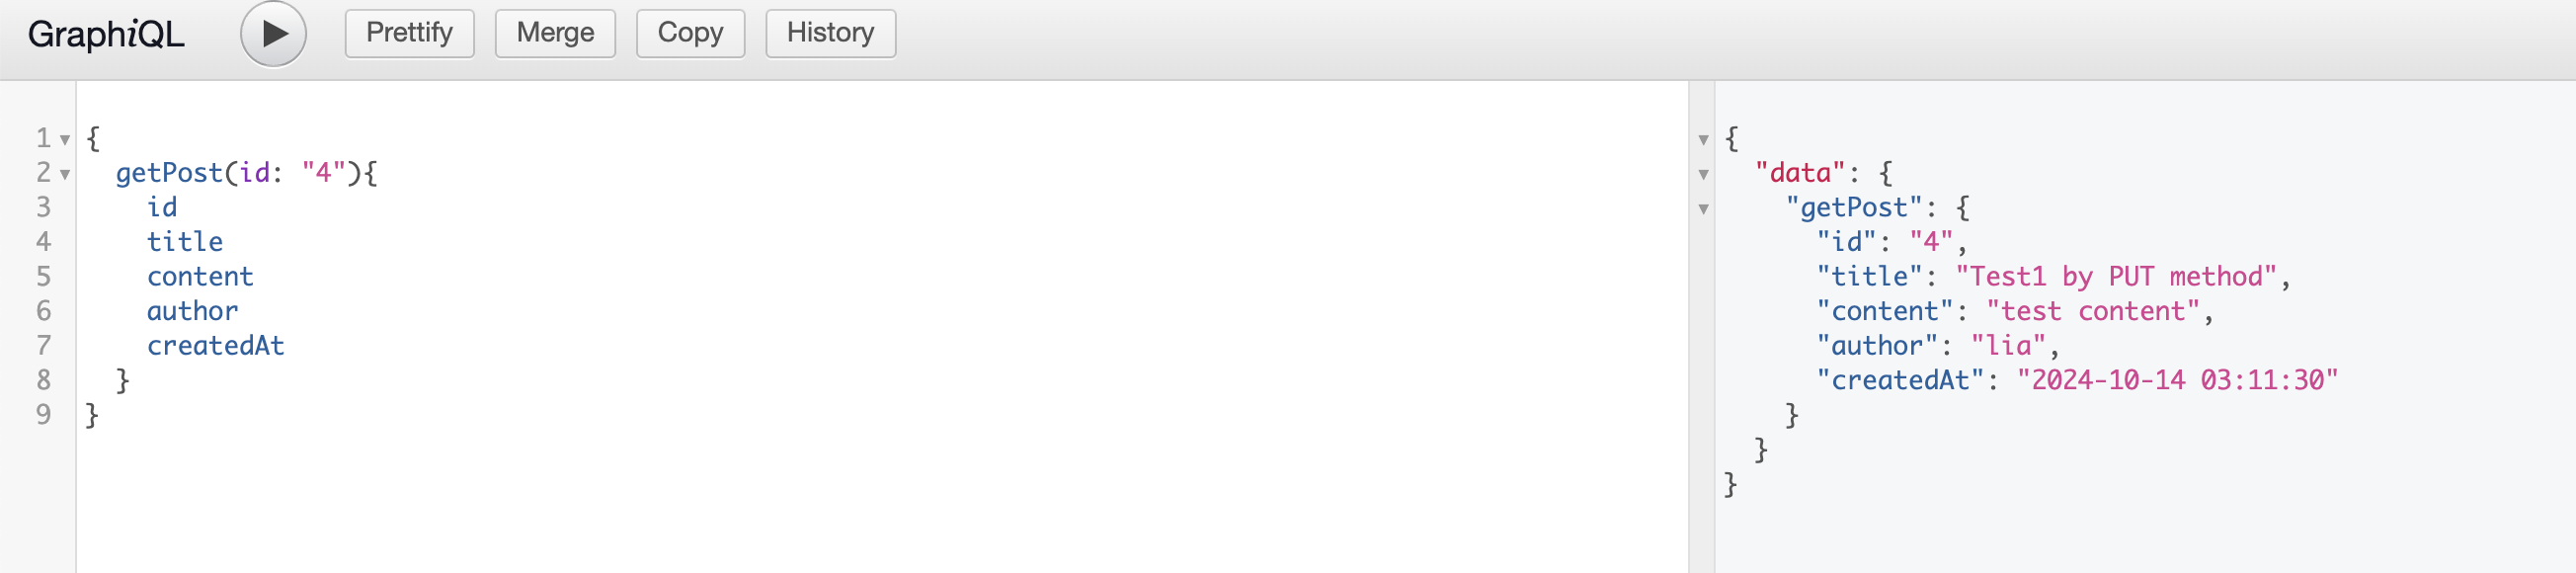
getPost
Mutation - createPost
여기서 주의할 점은, GraphiQL에서 쿼리를 날릴 때에는 Mutation으로 정의했더라도 소문자인 mutation으로 날려야 한다는 점이다.

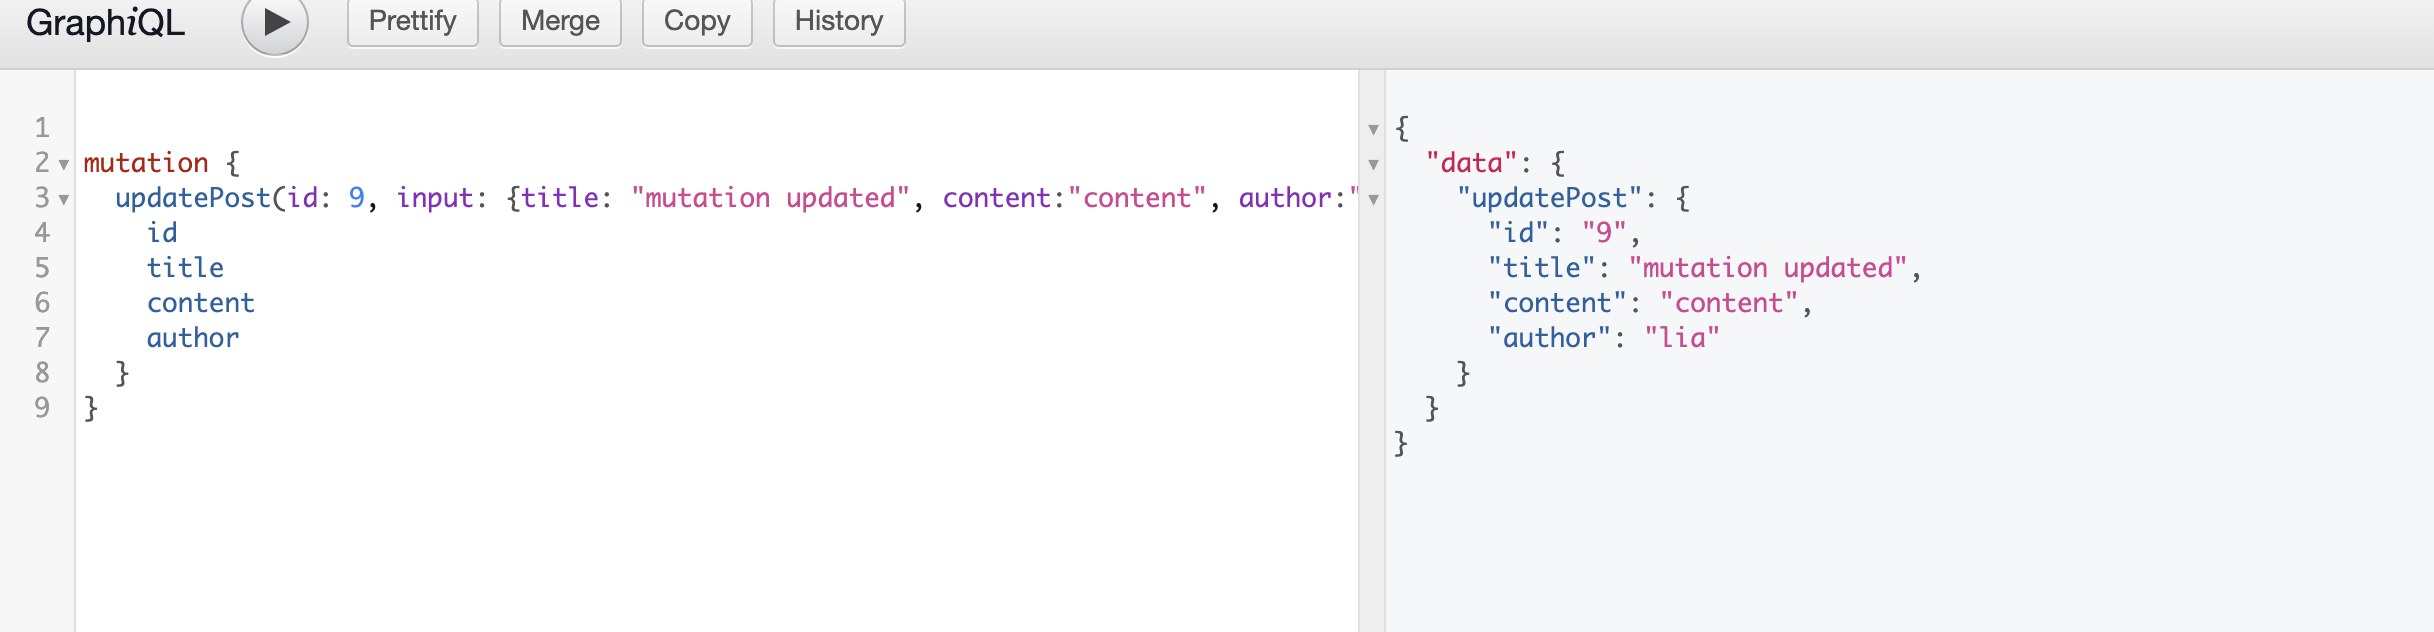
Mutation - updatePost
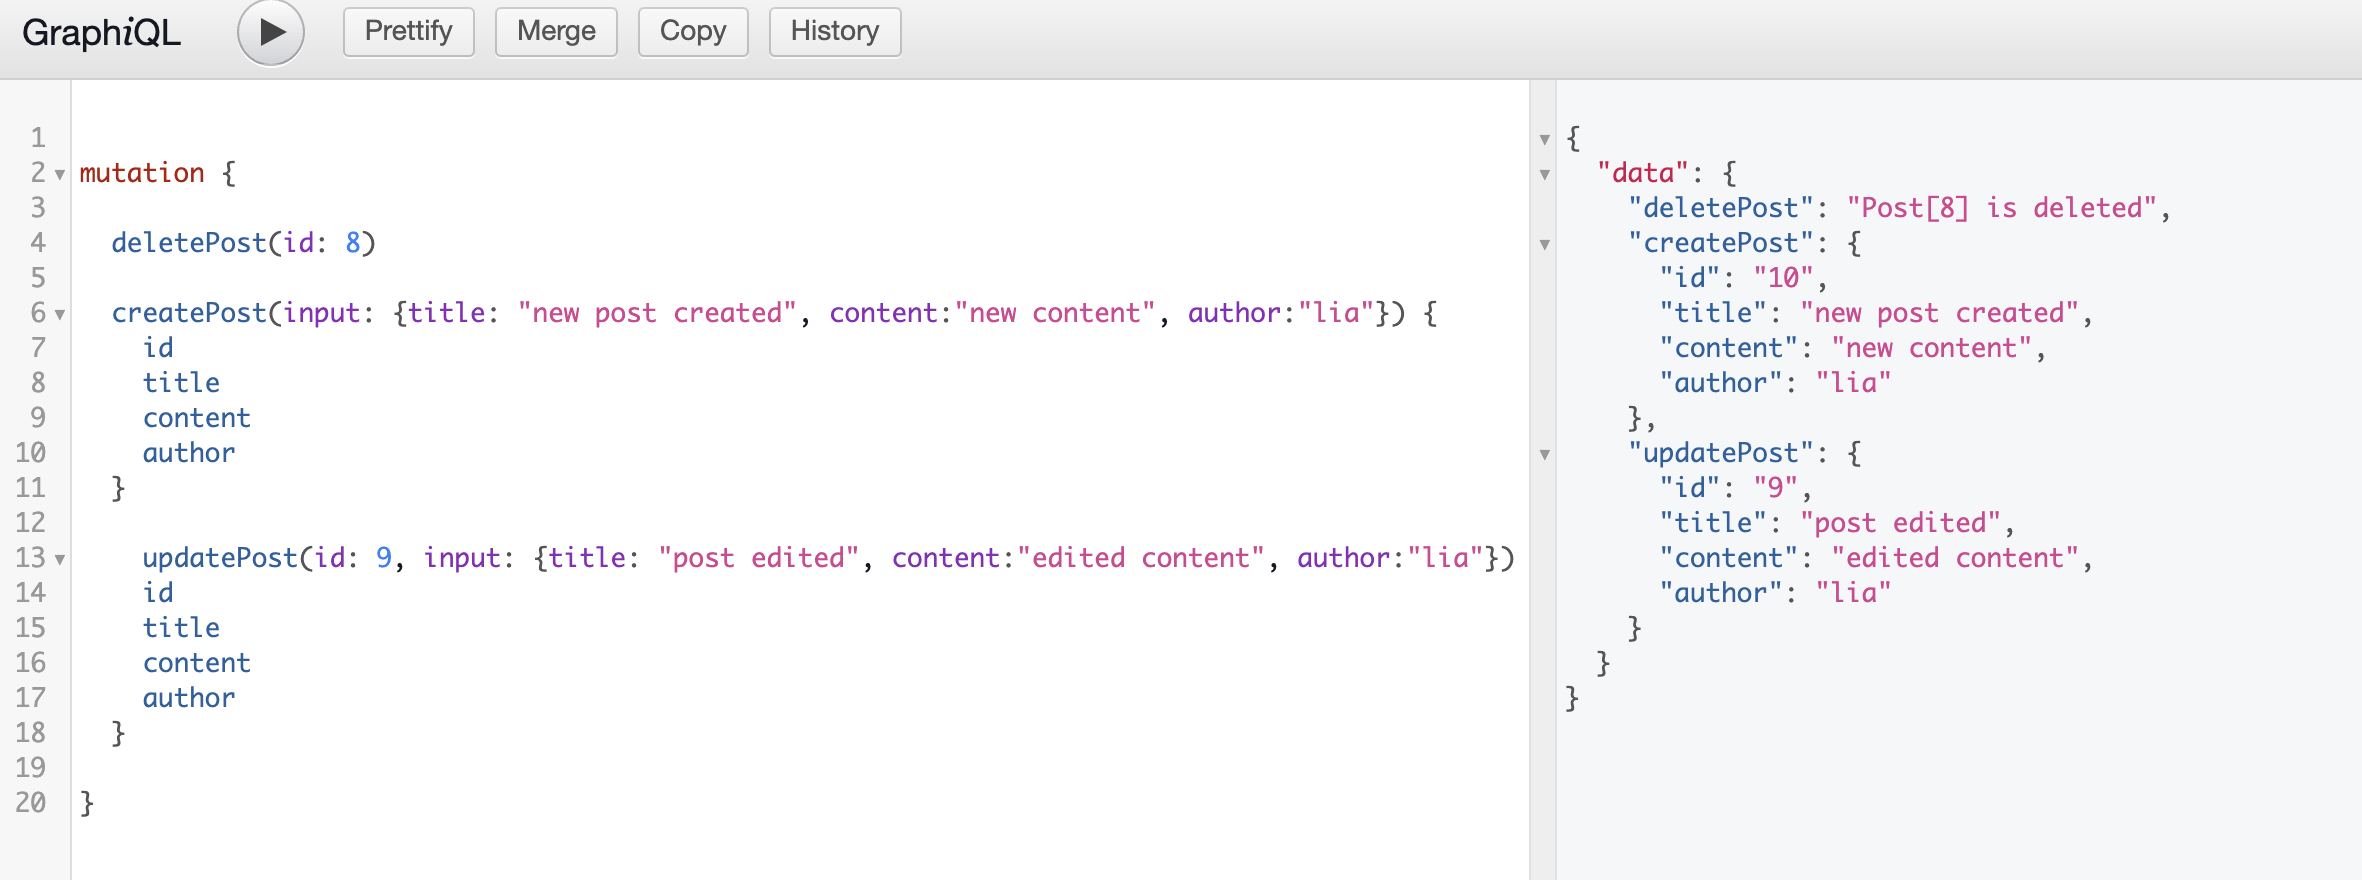
Mutation - deletePost

한번에 쿼리 날리기
사실 mutation {}안에 메서드를 넣고 한번에 해도 다 된다.
'Backend' 카테고리의 다른 글
| [Node.js] ORM 시퀄라이즈(Sequelize)를 활용해서 테이블 만들고 데이터 주고받기 (0) | 2024.10.15 |
|---|---|
| [Node.js] GraphQL Schema 설계, mutation 타입 (0) | 2024.10.15 |
| 댓글 기능 추가하기 (RestAPI 별도 라우터 /comments) (0) | 2024.10.15 |
| RestAPI에 betterSQL 적용하기 (0) | 2024.10.14 |
| RESTful API 설계 후 CURL로 데이터 주고받기 (0) | 2024.10.14 |


