
나의 발자취
[iOS] 스토리보드 MapKit 적용해보기 본문
애플 지도와 MapKit를 활용해볼 것이다.
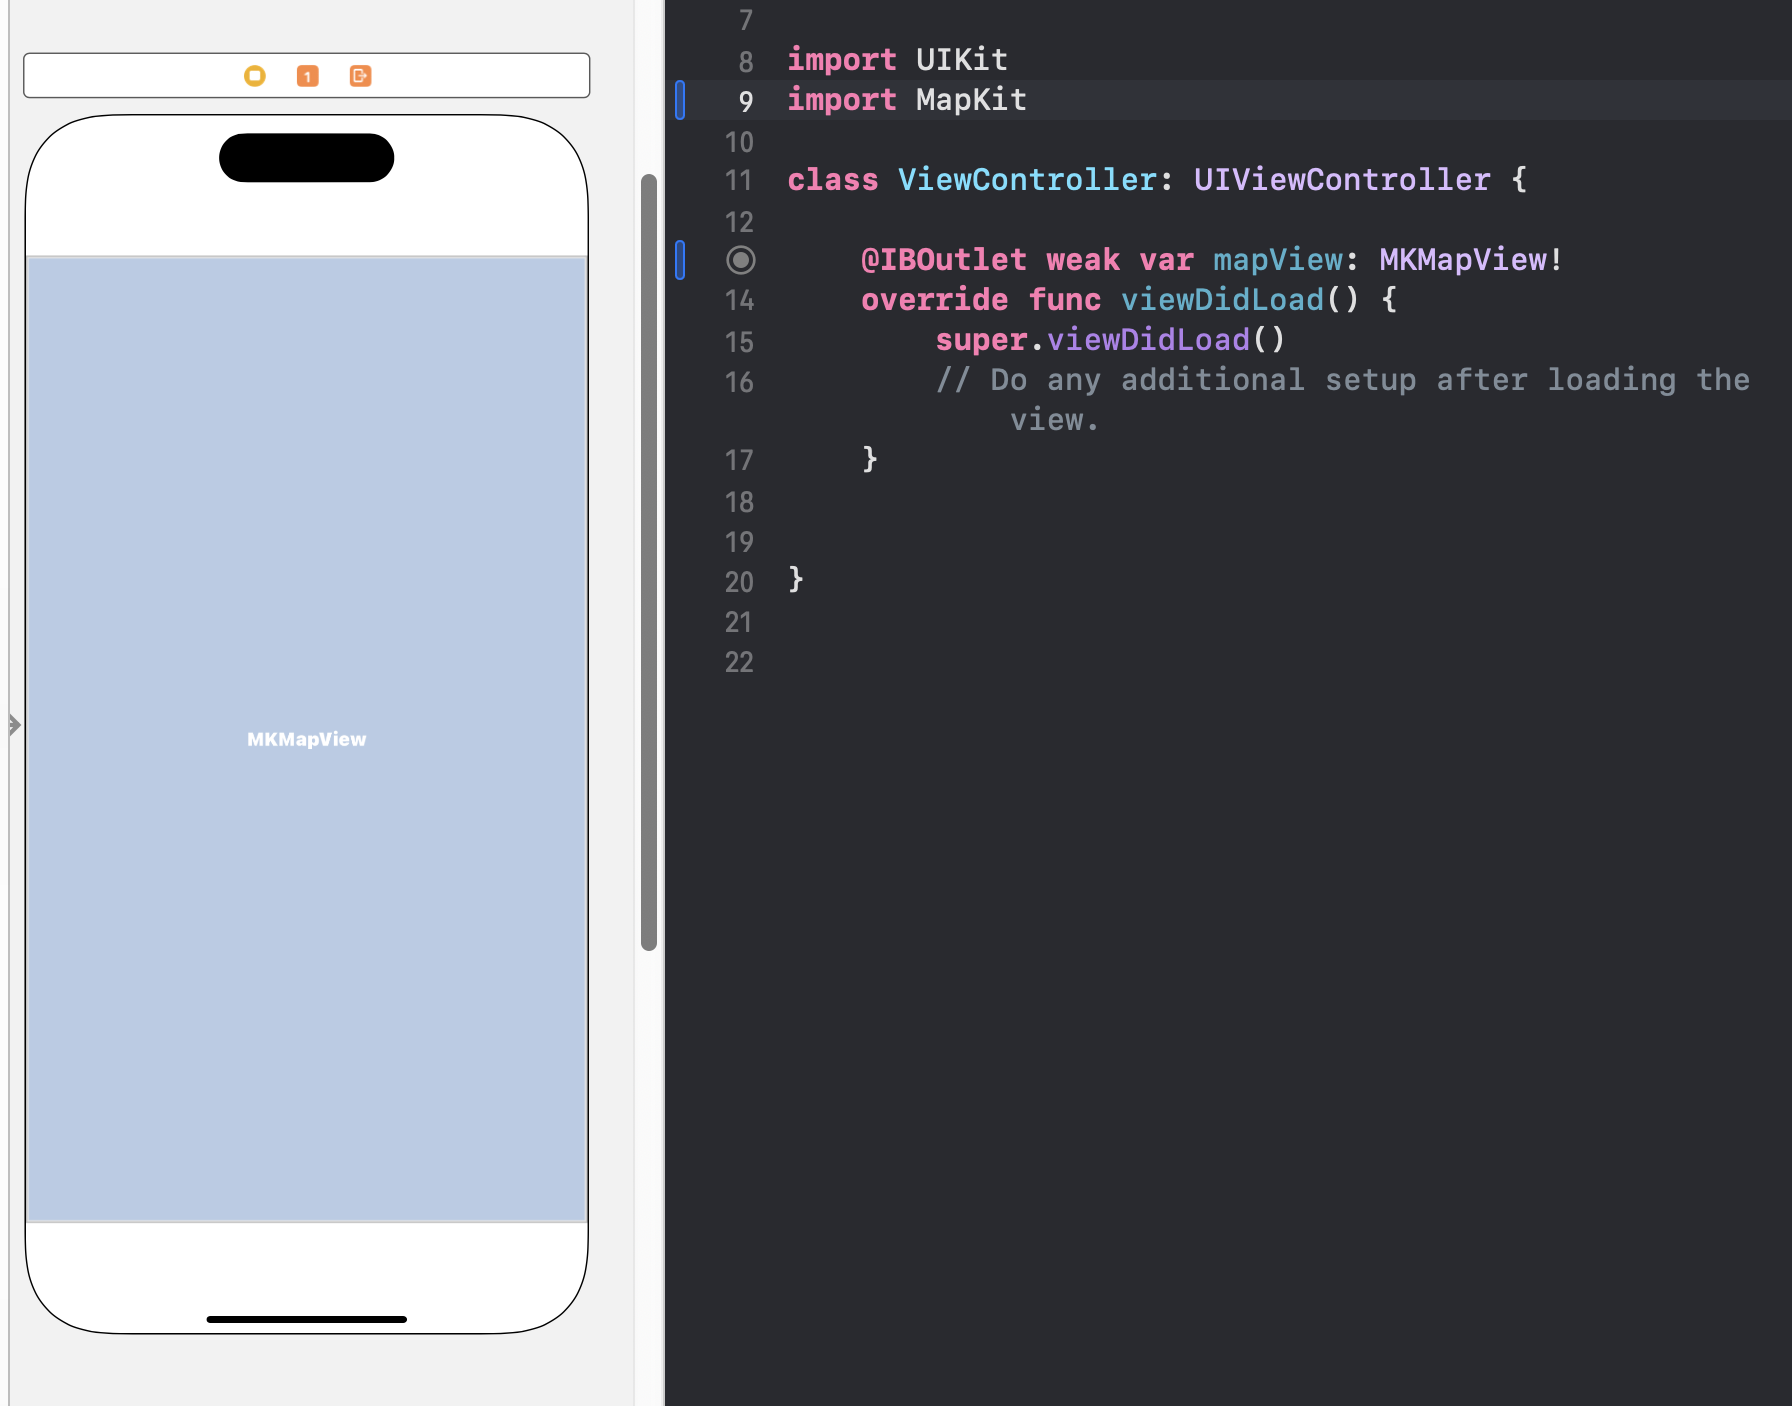
우선, MKMapView를 끌어다가 뷰에다가 놓아주고 아울렛 연결을 해준다.
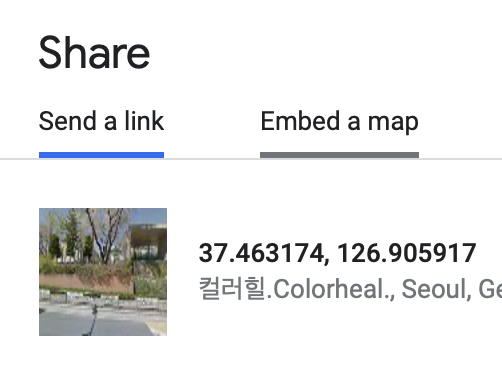
그다음, 구글 맵에 가서 위도와 경도를 복사해오기 위해 내가 복사하고 싶은 위치에 마우스를 호버하고 위치 공유하기를 누르면 위도와 경도가 나타나게 된다.
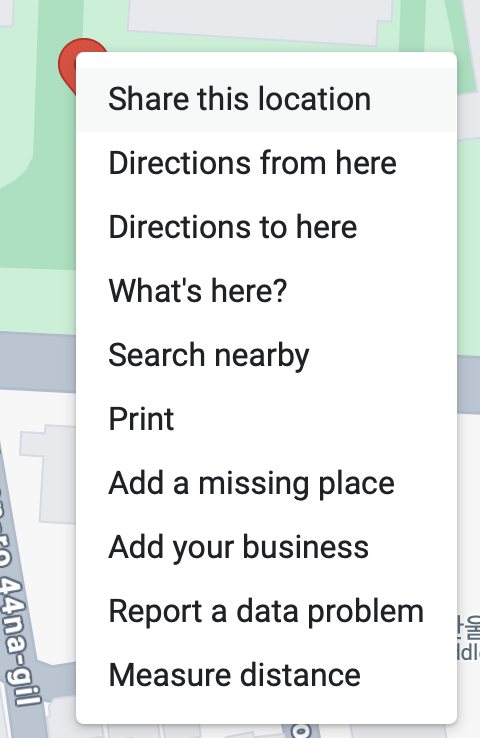
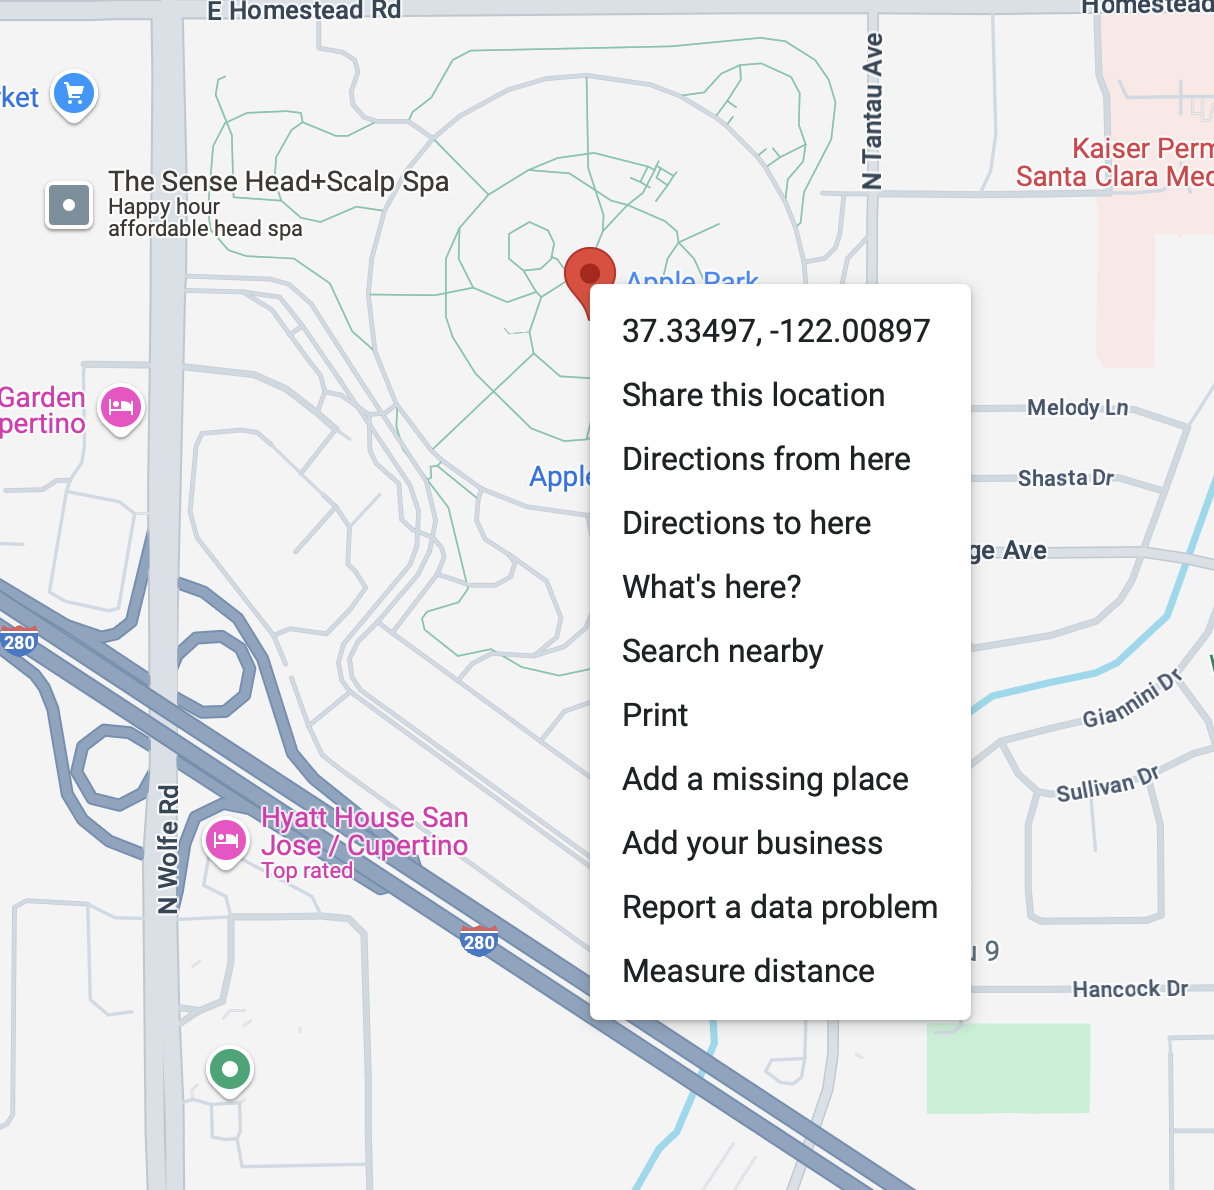
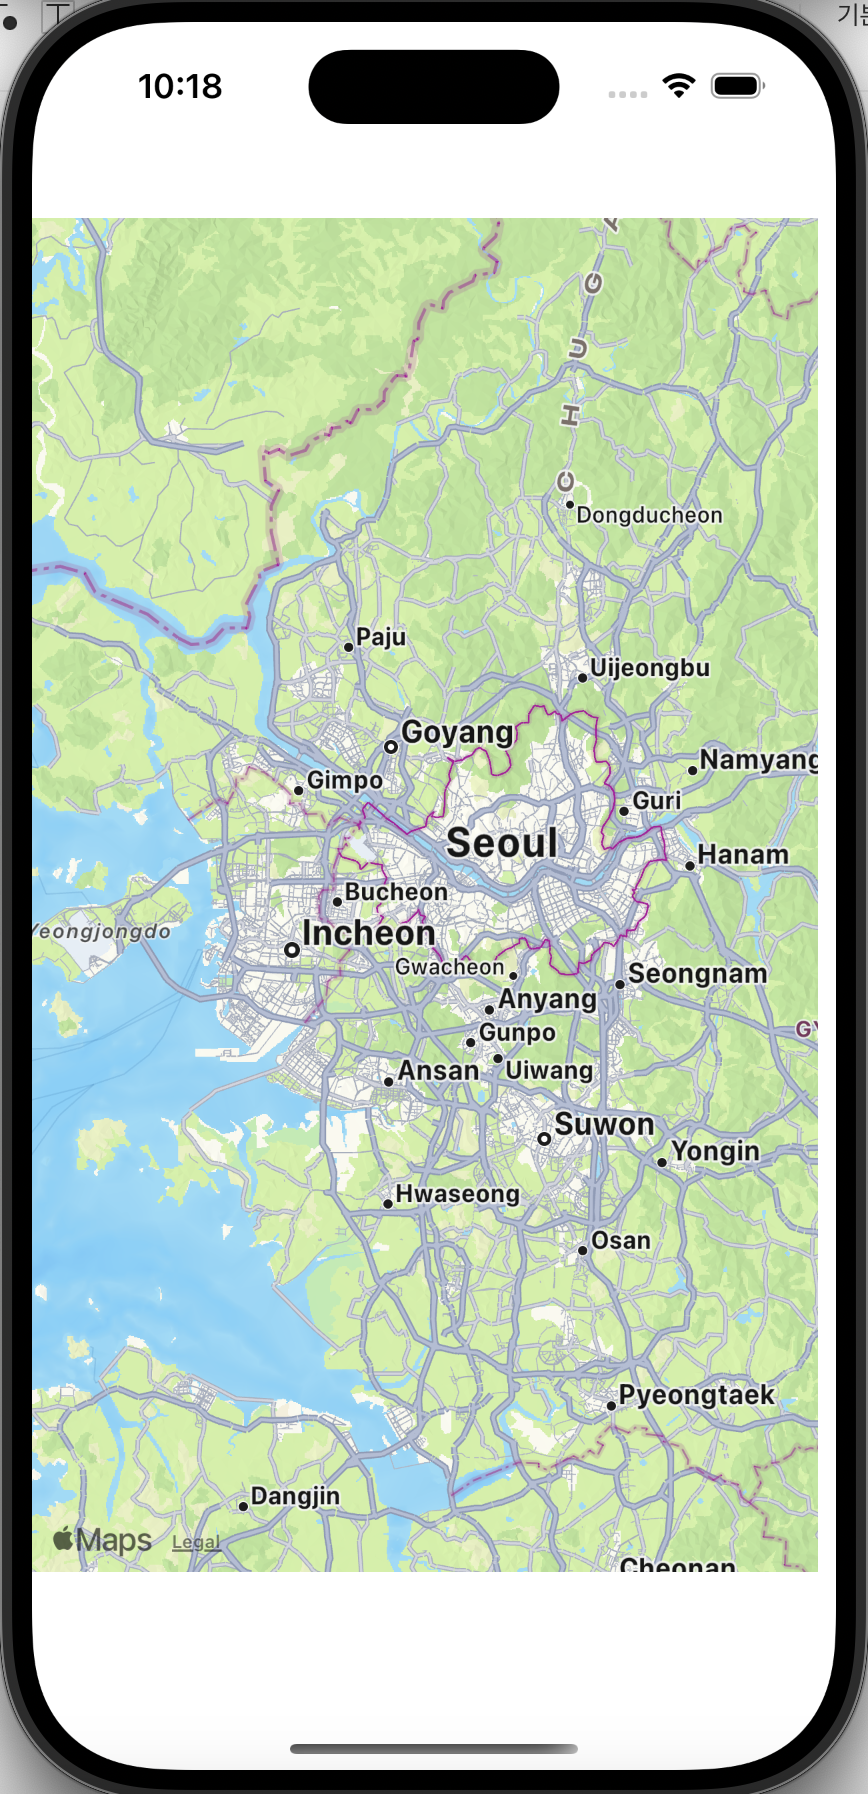
미국 기반이기 때문에 미국의 위치는 아래와 같이 우클릭하면 경도와 위도가 같이 뜨고, 클릭하면 바로 복사가 된다.
그대로 lat, long에 복붙을 해놓는다.
let center = CLLocationCoordinate2D(latitude: 37.463197, longitude: 126.905945)
그리고, 코드 후에 설명을 해보겠다.
let center = CLLocationCoordinate2D(latitude: 37.463197, longitude: 126.905945)
let span = MKCoordinateSpan(latitudeDelta: 1, longitudeDelta: 1)
let region = MKCoordinateRegion(center: center, span: span)
mapView.setRegion(region, animated: true)
- let span = MKCoordinateSpan(latitudeDelta: 1, longitudeDelta: 1):
- span: 지도에서 보여줄 영역의 범위를 설정한다. latitudeDelta와 longitudeDelta는 각각 위도와 경도의 변화량을 나타낸다. 여기서는 위도와 경도의 범위를 1도씩 설정했는데, 그러면 상대적으로 넓은 영역이 나타나게 된다. 시뮬레이터로 실행을 하면 이렇게 넓은 영역이 나타나는걸 볼 수 있다.
- span: 지도에서 보여줄 영역의 범위를 설정한다. latitudeDelta와 longitudeDelta는 각각 위도와 경도의 변화량을 나타낸다. 여기서는 위도와 경도의 범위를 1도씩 설정했는데, 그러면 상대적으로 넓은 영역이 나타나게 된다. 시뮬레이터로 실행을 하면 이렇게 넓은 영역이 나타나는걸 볼 수 있다.
- let region = MKCoordinateRegion(center: center, span: span):
- region: 중심 좌표와 범위를 결합하여 특정 지역을 정의한다. center는 이전에 설정한 좌표를 사용하고, span은 설정한 범위를 사용합니다.
- mapView.setRegion(region, animated: true):
- mapView 객체에 정의된 지역을 설정하는 코드로, animated: true를 통해 설정할 때 애니메이션 효과를 추가하여 위치가 이동할 때 부드럽게 전환되도록 한다.
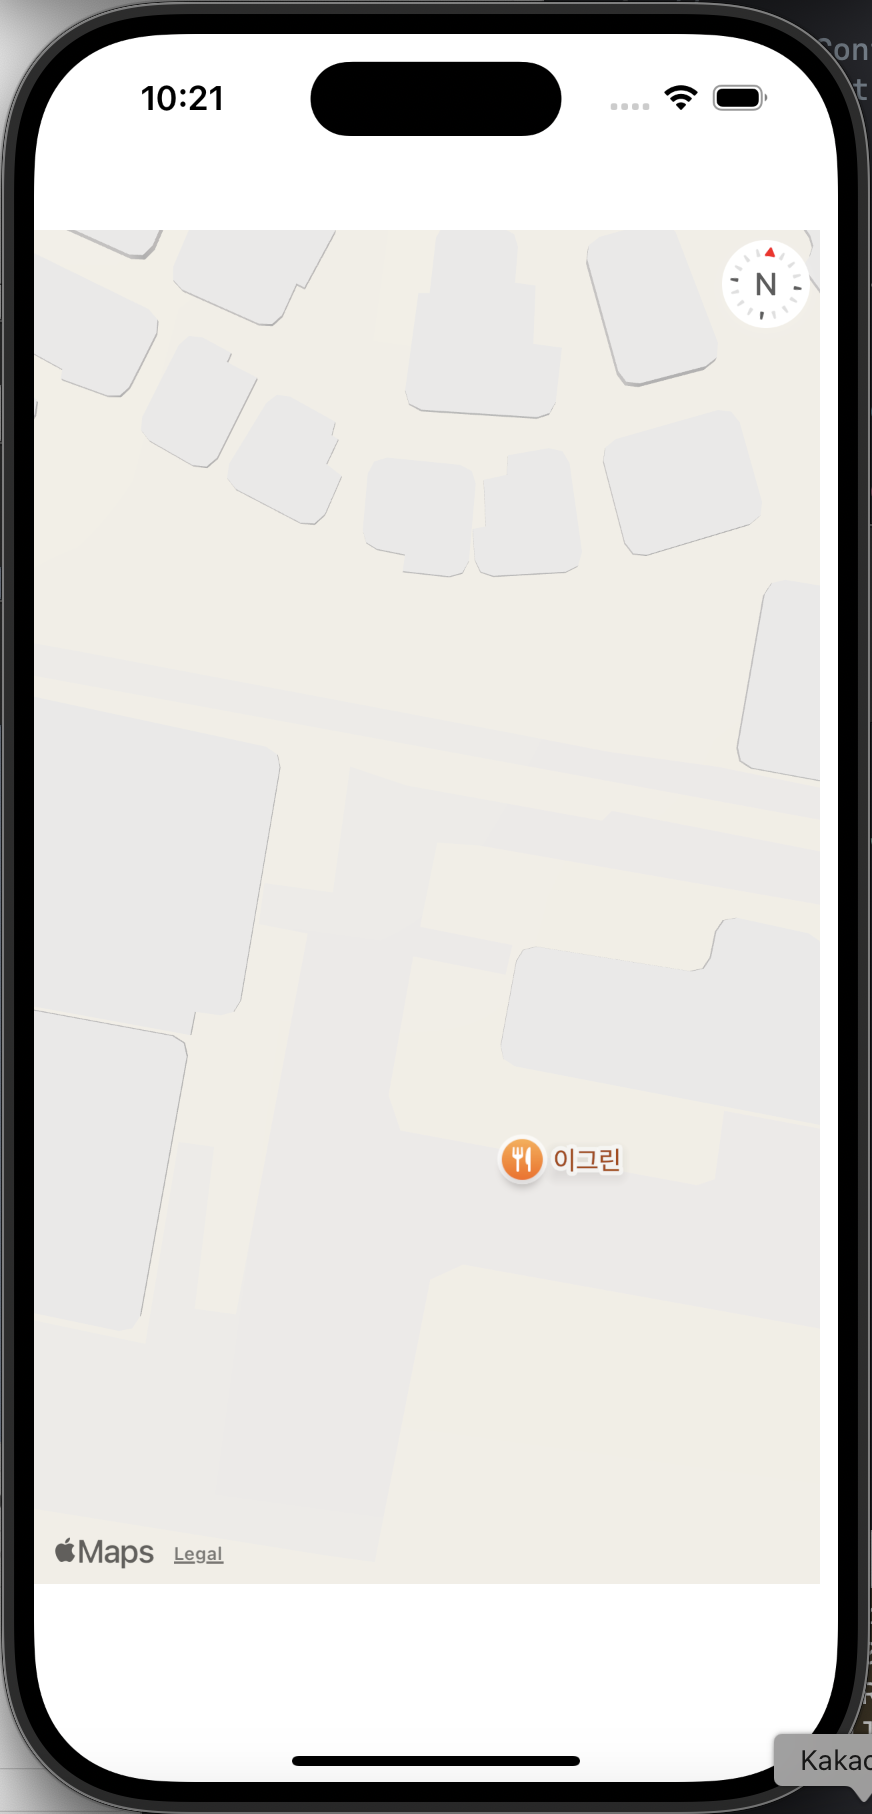
(좌) span = 1일때 / span = 0.001일 때 (우)
Map type
이제 segment control을 하나 넣어주어서 3개의 다른 mapType을 디스플레이하는 작업을 할 것이다.

네이밍 컨벤션에 맞게 세그먼트 아울렛과 액션을 정의해준다.
import UIKit
import MapKit

class ViewController: UIViewController {

    @IBOutlet weak var mapTypeSegmentedControl: UISegmentedControl!
    @IBOutlet weak var mapView: MKMapView!

    override func viewDidLoad() {
        super.viewDidLoad()
        let center = CLLocationCoordinate2D(latitude: 37.463197, longitude: 126.905945)
        let span = MKCoordinateSpan(latitudeDelta: 0.001, longitudeDelta: 0.001)
        let region = MKCoordinateRegion(center: center, span: span)
        mapView.mapType = .standard
        mapView.setRegion(region, animated: true)
    }
    @IBAction func mapTypeDidChange(_ sender: UISegmentedControl) {
        switch sender.selectedSegmentIndex {
        case 1: mapView.mapType = .satellite
        case 2: mapView.mapType = .hybrid
        default: mapView.mapType = .standard
        }
    }


}
그러나 시뮬레이션을 실행해보면, standard type에서 적용되던 span이 satelite, hybrid type에서는 이것이 적용되지 않고 바뀌어버리는 것이 확인된다. (적용되지 않는단 뜻)
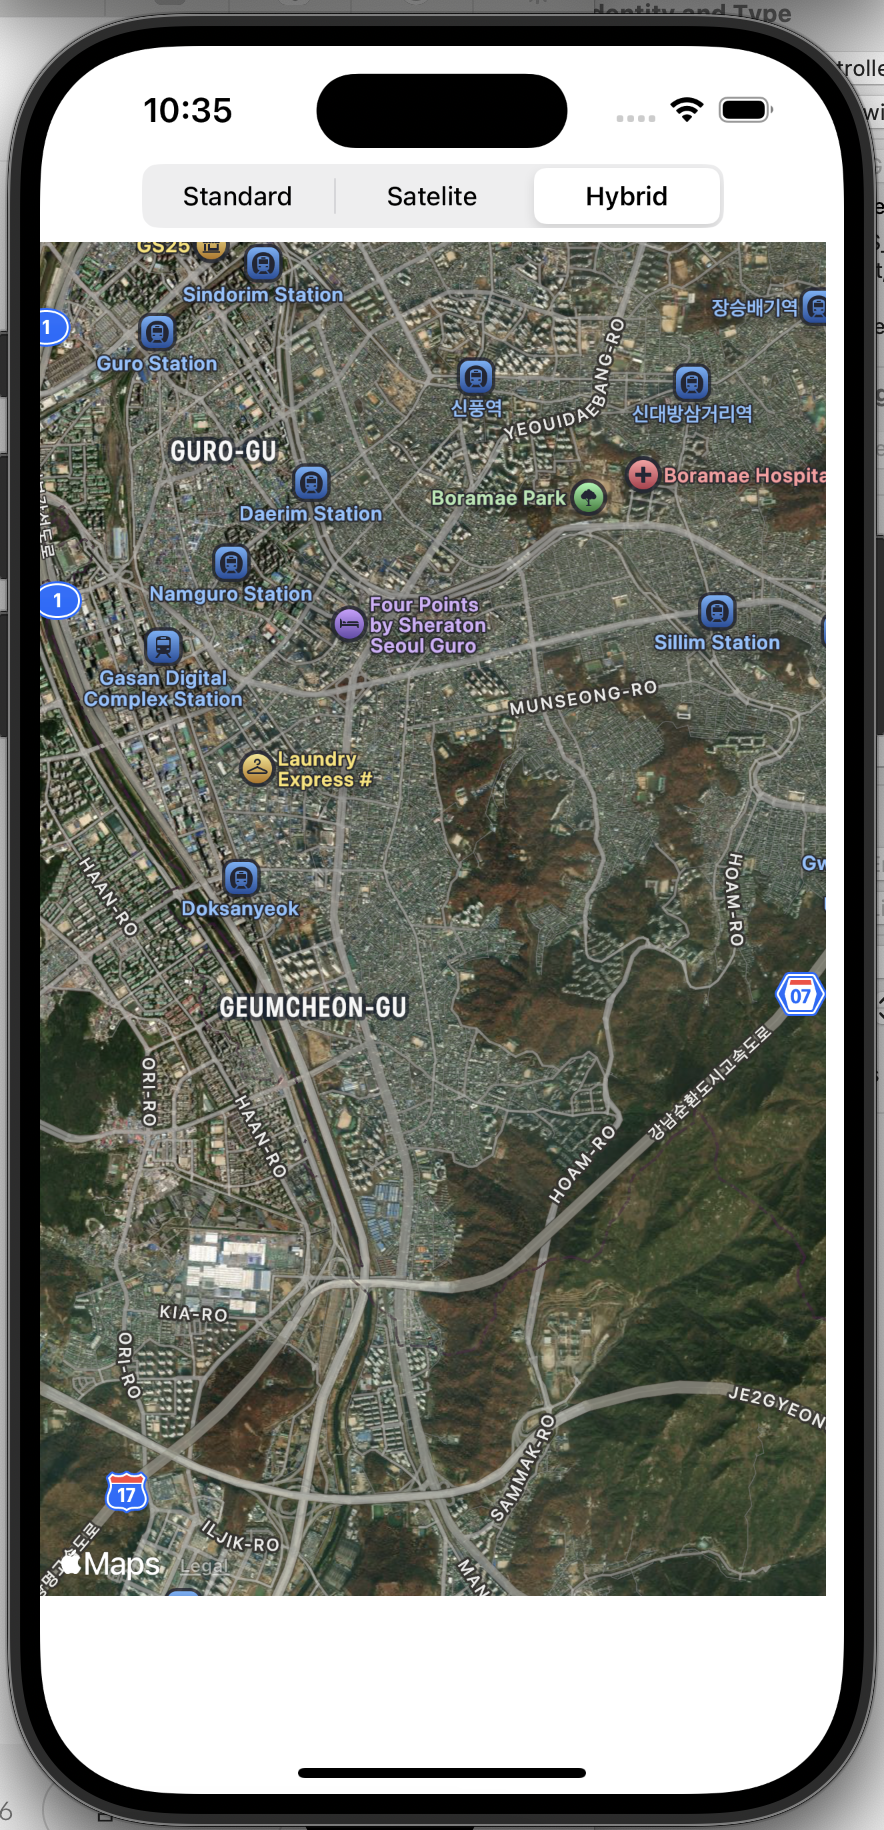
따라서 아래와 같이 고쳐준다.
    @IBAction func mapTypeDidChange(_ sender: UISegmentedControl) {
        switch sender.selectedSegmentIndex {
        case 1:
            mapView.preferredConfiguration = MKImageryMapConfiguration()
        case 2:
            mapView.preferredConfiguration = MKHybridMapConfiguration()
        default:
            mapView.preferredConfiguration = MKStandardMapConfiguration()

        }
    }
.addAnnotation(pin)
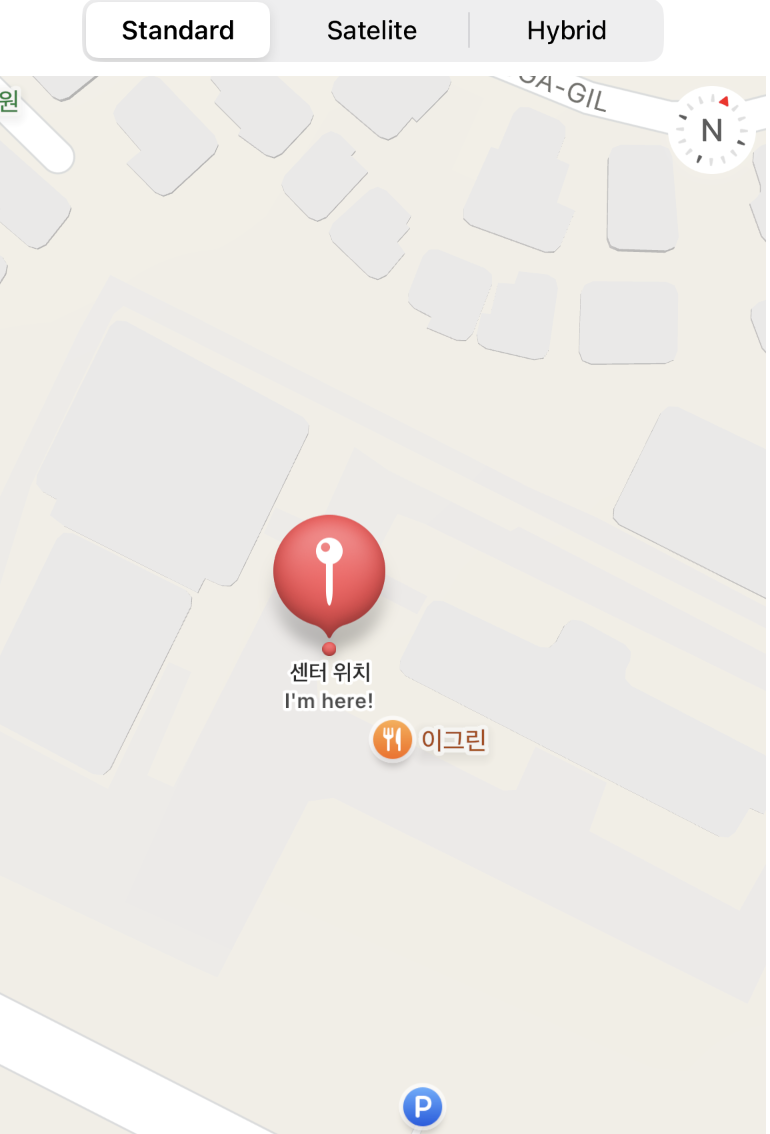
추가로, 핀을 추가해줄 것이다.
뷰 하단에 핀을 나타내는 버튼을 추가해주고 액션 설정을 해준다.

    @IBAction func actShowPin(_ sender: Any) {
        let location = CLLocationCoordinate2D(latitude: 37.463197, longitude: 126.905945)
        let pin = MKPointAnnotation()
        pin.coordinate = location
        pin.title = "센터 위치"
        pin.subtitle = "I'm here!"
        mapView.addAnnotation(pin)
    }
그리고 시뮬레이터를 실행해보면 아래와 같이 핀이 나타난다!
여러 정보들을 추가하는 Annotation
annotation을 멀티플로 받을 때는 하나씩 하면 시간이 오래걸리기 때문에, 따로 배열을 만들어주거나 이와 같이 파일을 별도로 만들어서 속성을 해준다.
새로운 코코아터치 클래스를 아래와 같이 만들어주는데, NSObject를 상속하도록 해준다.
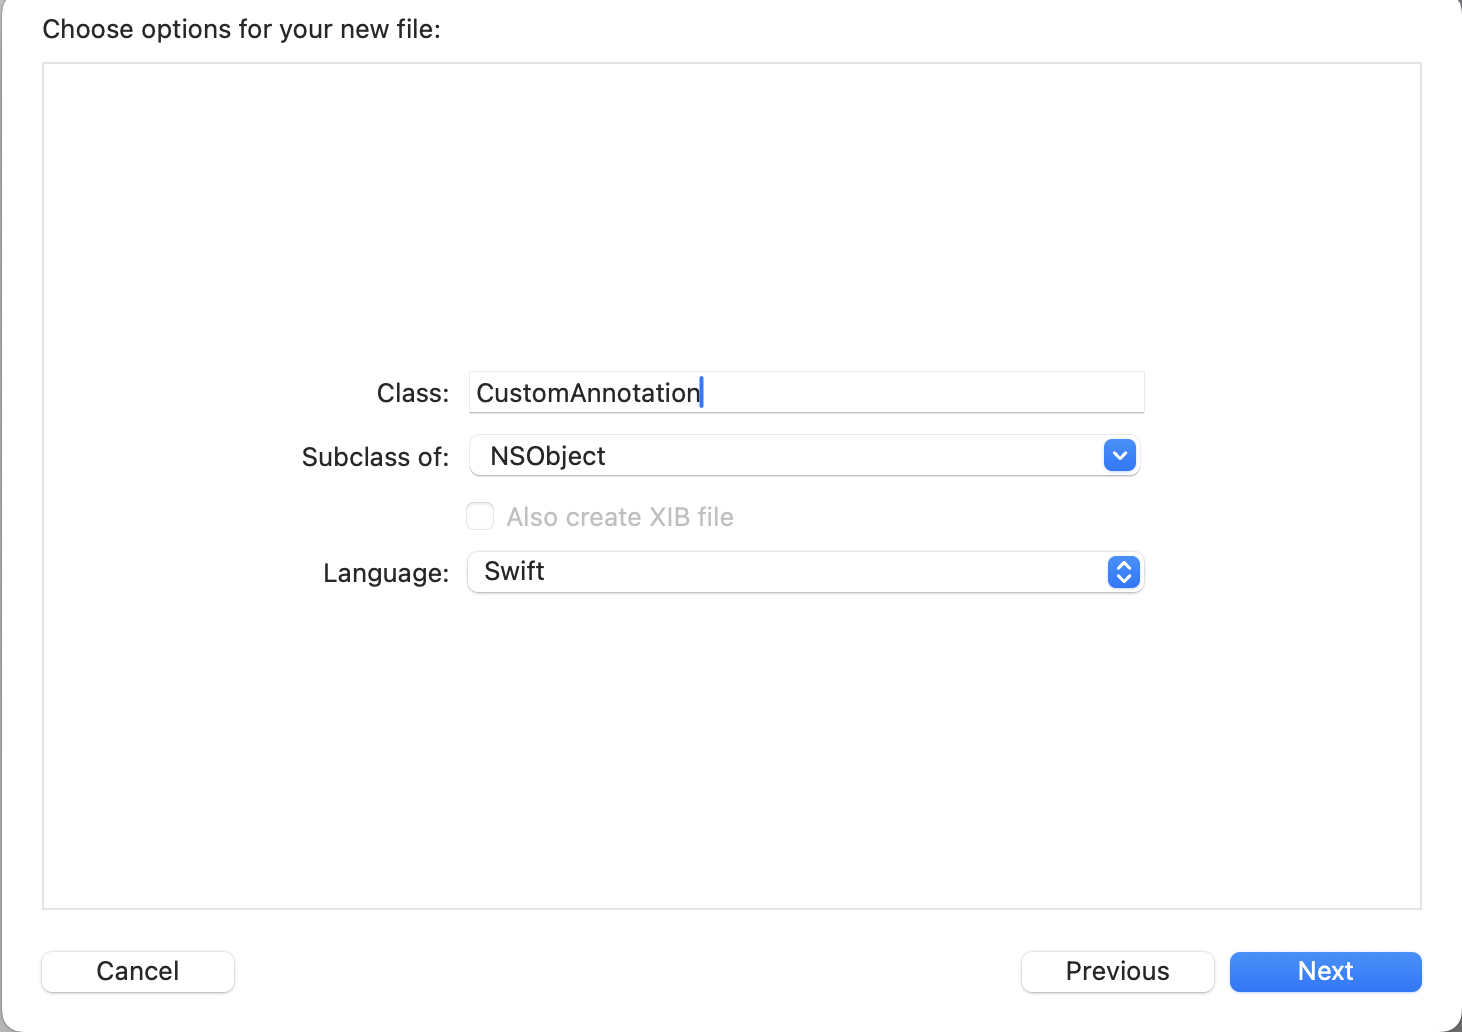
'Class 'CustomAnnotation' has no initializers' 에러가 나기 때문에, 초기생성자를 만들어주어야하는데 우선 필요한대로 프로토콜을 따르고 라이브러리를 임포트하도록 해준다.

완성한 코드
import UIKit
import MapKit

class CustomAnnotation: NSObject, MKAnnotation {
    let coordinate: CLLocationCoordinate2D
    let title: String?
    let subtitle: String?
    let url: String
    let thumbnail: String

    init(coordinate: CLLocationCoordinate2D, title: String?, subtitle: String?, url: String, thumbnail: String) {
        self.coordinate = coordinate
        self.title = title
        self.subtitle = subtitle
        self.url = url
        self.thumbnail = thumbnail

        super.init()
    }

}
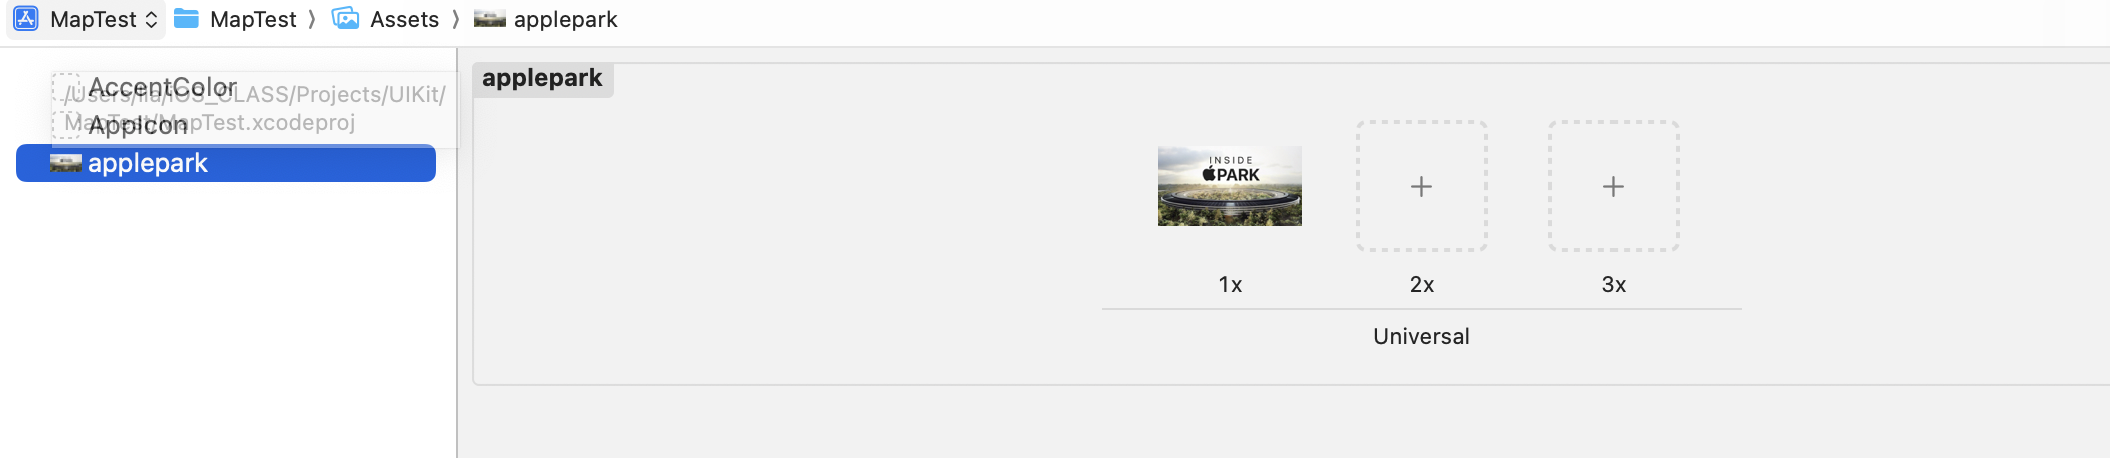
이미지 썸네일 만들기
썸네일로 지정하고 싶은 이미지를 저장하고, 이름을 사용하기 좋게 바꿔준다.
그다음으로 사진의 넓이와 높이를 지정해준다.
Preview > Tools > Adjust Size > 100으로 설정하면 나머지는 규격에 맞춰서 알아서 자동조절


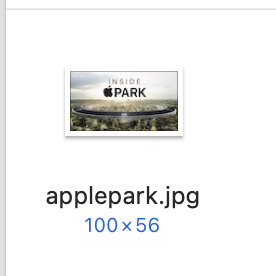
꼭 저장을 해서 아래에 내가 크기를 변경한 대로 잘 저장되었는지 확인한 후에,
에셋에 넣어준다.
그리고 이전의 pin 관련한 코드들을 주석처리해준다.

이제, 위에서 CustomAnnotation 파일을 별도로 만들어서 정의했으므로 초기생성자에다가 올바른 값으로 입력을 해준다.
+ 그러면서 조금 더 semantic naming을 위해 pin -> annotation으로 변수명을 바꾸어주었다.
    @IBAction func actShowPin(_ sender: Any) {
        let location = CLLocationCoordinate2D(latitude: 37.33497077406045, longitude: -122.00896684549421)
        let annotation = CustomAnnotation(coordinate: location, title: "Apple Park", subtitle: "I'm here!", url: "https://www.apple.com", thumbnail:"applepark")
        mapView.addAnnotation(annotation)
//        let pin = MKPointAnnotation()
//        pin.coordinate = location
//        pin.title = "센터 위치"
//        pin.subtitle = "I'm here!"
//        mapView.addAnnotation(pin)
    }
annotation 재사용을 위한 extension 구현하기
viewDidLoad()에 mapView.delegate = self를 작성해준다.
(주의!) 이렇게 위임해주는 코드를 작성하지 않을 시에는 아무것도 안뜨게 된다.

그리고 제일 하단으로 가서 annotation 재사용을 위한 확장자를 구현해준다.
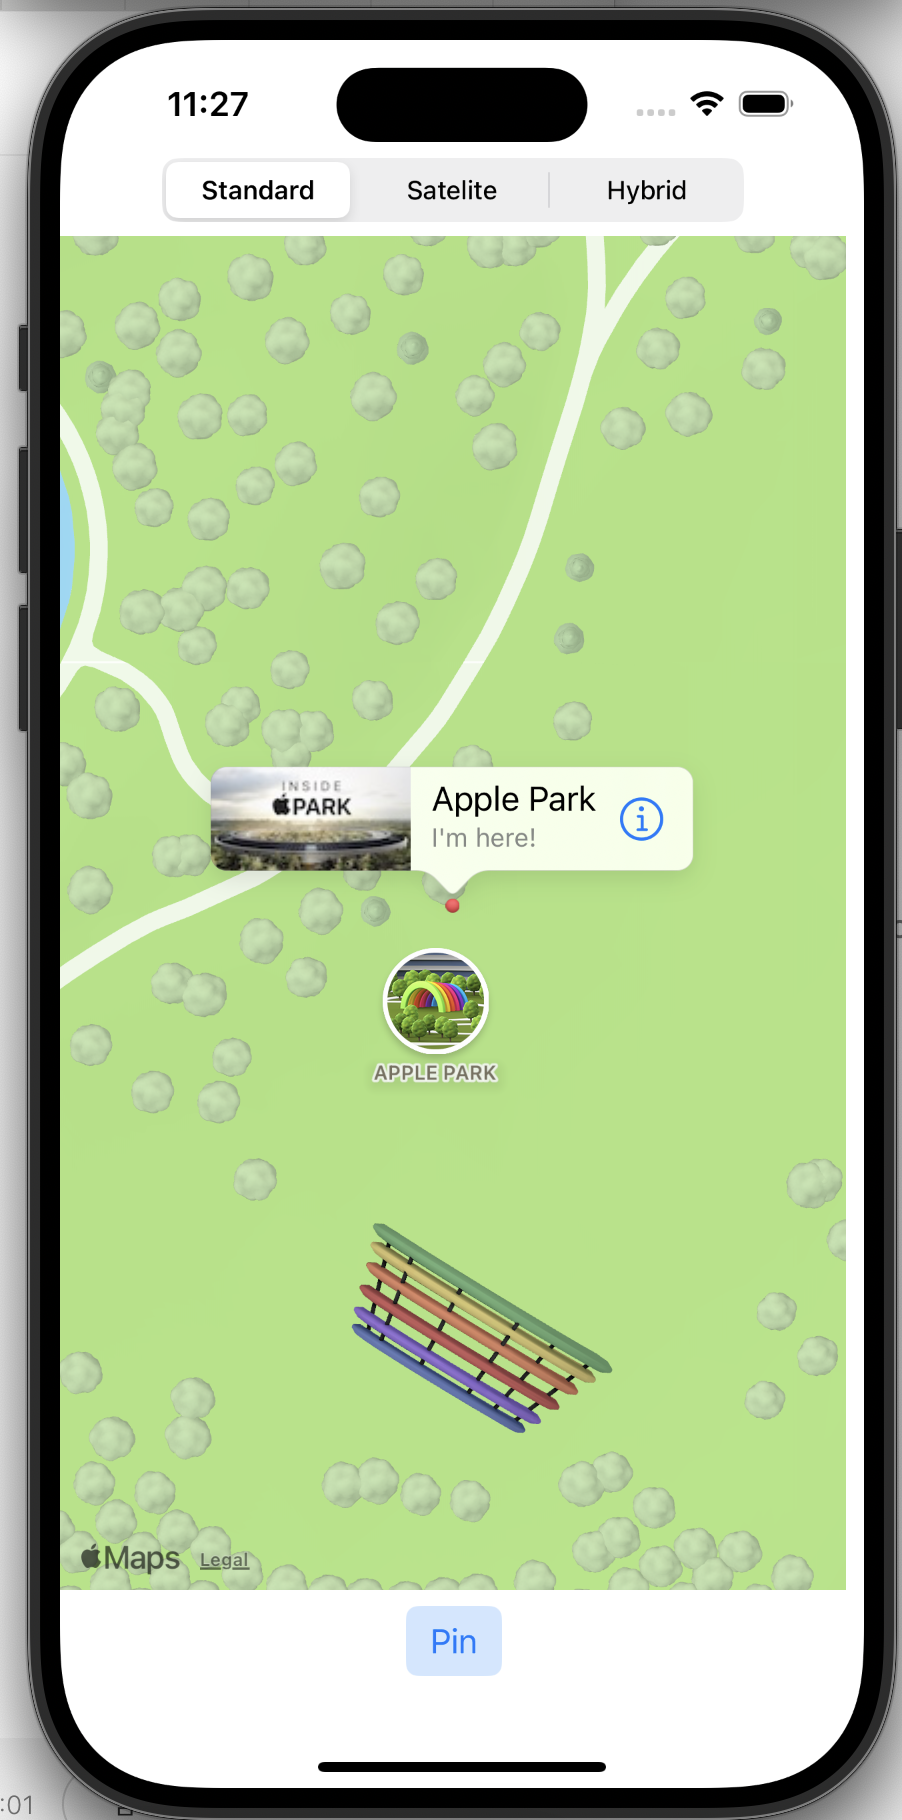
좌측 악세서리 뷰에는 사진, 우측 악세사리 뷰에는 버튼을 넣어줬다.
extension ViewController: MKMapViewDelegate {
    func mapView(_ mapView: MKMapView, viewFor annotation: any MKAnnotation) -> MKAnnotationView? {
        guard let annotation = annotation as? CustomAnnotation else { fatalError() }
        var annotationView = mapView.dequeueReusableAnnotationView(withIdentifier: "custom")
        if annotationView == nil {
            annotationView = MKMarkerAnnotationView(annotation: annotation, reuseIdentifier: "custom")
            let btn = UIButton(type: .detailDisclosure)
            annotationView?.rightCalloutAccessoryView = btn
            let imageView = UIImageView(image: UIImage(named: annotation.thumbnail))
            annotationView?.leftCalloutAccessoryView = imageView
            annotationView?.canShowCallout = true

        }
        annotationView?.annotation = annotation


        return annotationView
    }
}
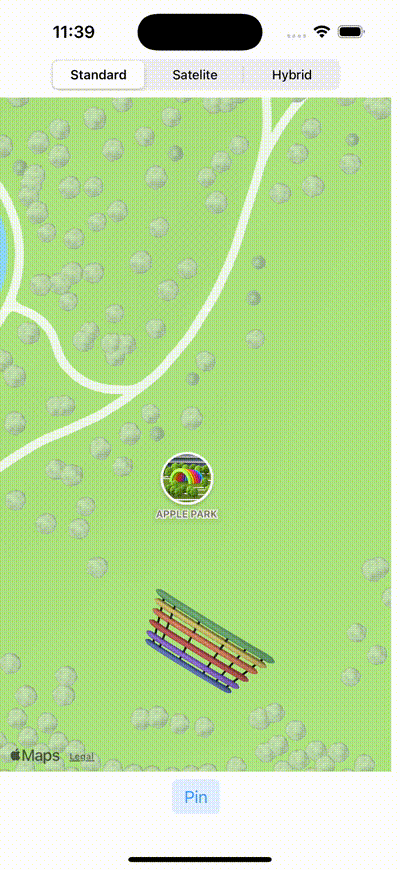
시뮬레이터에서 확인한다.
calloutAccesoryControlTapped()
이제 이 우측 악세서리 뷰를 클릭했을 때, 화면 전환이 이루어지면서 위의 초기생성자에 입력했던 웹페이지가 열리도록 구현을 해 줄 것이다.
일단 같은 extension에서 아래와 같이 코드를 작성해준다.
func mapView(_ mapView: MKMapView, annotationView view: MKAnnotationView, calloutAccessoryControlTapped control: UIControl) {
        guard let annotation = view.annotation as? CustomAnnotation else { return }
        print(annotation.url)
    }
그리고, url을 위한 줄을 추가를 해준다.
    func mapView(_ mapView: MKMapView, annotationView view: MKAnnotationView, calloutAccessoryControlTapped control: UIControl) {
        guard let annotation = view.annotation as? CustomAnnotation else { return }
        print(annotation.url)

        if let url = URL(string: annotation.url) {
                UIApplication.shared.open(url, options: [:], completionHandler: nil)
            }
    }
}
'앱 개발 > iOS' 카테고리의 다른 글
| [SwiftUI] @State 프로퍼티, @Binding 프로퍼티 (0) | 2024.10.29 |
|---|---|
| [iOS] SwiftUI vs UIKit, SwiftUI 특징 (2) | 2024.10.29 |
| [iOS] BookSearch 앱 좌우 넘기기 화살표 func 하나로 일치, CoreLocation 라이브러리 (0) | 2024.10.28 |
| [iOS] SPM(Swift Package Manager), 오픈소스 라이브러리 사용 (1) | 2024.10.28 |
| [iOS] Codable - 인코딩 / 디코딩, KakaoAPI를 활용한 BookSearch 앱 만들기 응용 (5) | 2024.10.22 |


